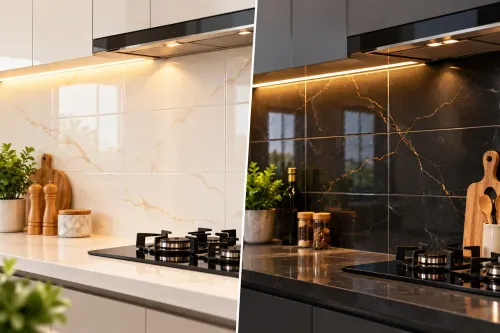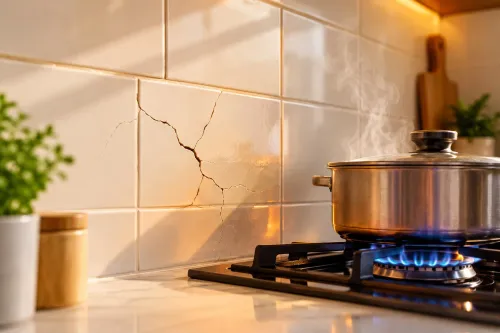
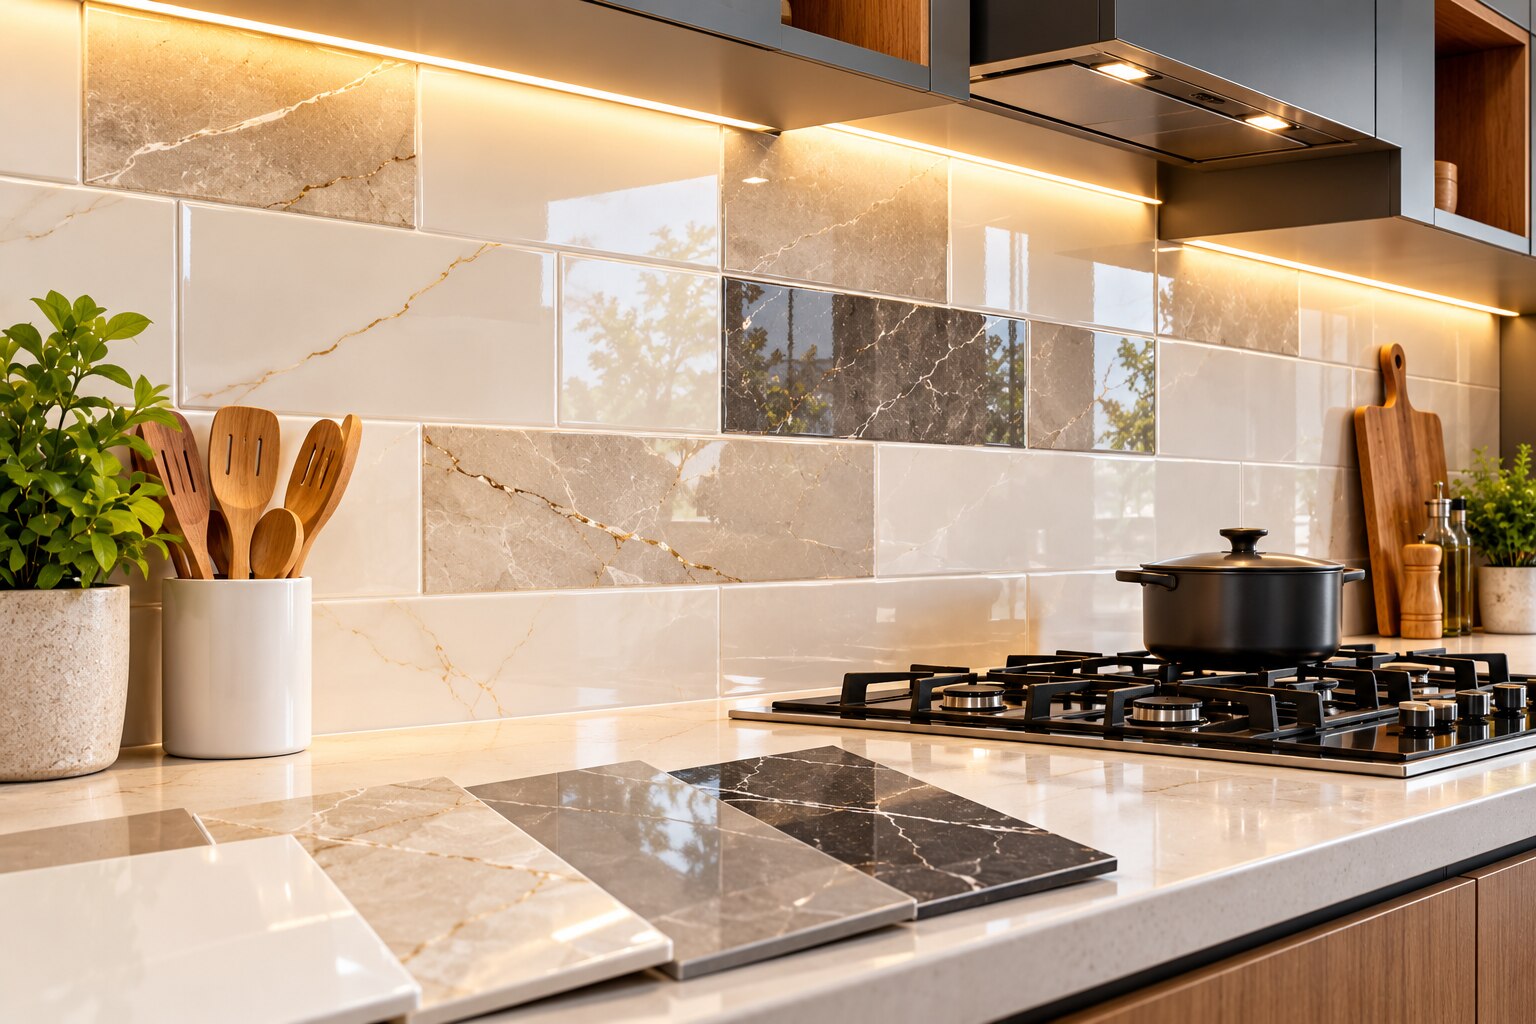
A highlighter tile must suit more than your preferred pattern: it also has to withstand grease behind the hob, water near the sink, and close inspection around sockets and cabinet edges. By the end, you will be able to choose the right surface, coverage, pattern scale, grout, and installation plan for your kitchen.
Key takeaways
- Choose glazed, non-absorbent tiles behind the hob and sink.
- Use porous stone only with documented sealing and planned maintenance.
- Mark the highlighter layout before ordering tiles.
- Check cuts, joints, wall condition, and cleaning before approving the combination.
Match the Tile Surface to Each Splash Zone
The hob zone needs a glazed, non-absorbent face that wipes clean after grease splashes and tolerates repeated heating and cooling. Use the same type behind the sink, where water exposure is constant; elsewhere, you have more freedom. Porous stone is acceptable only with documented sealing and ongoing maintenance.
| Option | Cleanability and grout | Visual effect | Installation demand |
|---|---|---|---|
| Plain ceramic | Easy-clean flat face; moderate grout | Simple, adaptable | Straightforward |
| Porcelain | Dense, low-absorption face; moderate grout | Stone-look or plain | Harder cutting |
| Glass | Very easy to wipe; little grout in sheets | Reflective, bright | Needs compatible adhesive |
| Mosaic | More grout to scrub | Detailed, busy or refined | Many joints and cuts |
| Subway | Easy flat face; regular grout | Classic, orderly | Simple running-bond layout |
| Patterned | Cleanability depends on surface; visible grout | Strong focal point | Pattern alignment matters |
| Decorative kitchen wall tiles | Relief and texture trap grease | High visual emphasis | Slower cleaning and fitting |
A kitchen tile selection guide should flag deep relief, handmade texture and three-dimensional highlighter kitchen tile designs as higher-maintenance choices. Crackle glaze needs written sealing and cleaning instructions, including confirmation that it is approved behind a grease-producing hob.
Polished marble can etch from lemon juice, vinegar or tomato products even after sealing; sealer reduces staining, not acid damage. PEI measures floor abrasion, not wall suitability, grease resistance or cleaning ease. Use contrasting grout to emphasise modules, or close-colour grout for a quieter surface.
Decide Where the Highlighter Belongs Before You Order
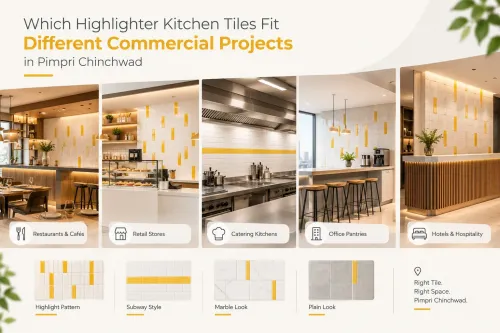
How to choose highlighter tiles for a kitchen backsplash starts with coverage, not colour. Draw the wall elevation and mark the countertop, cabinet breaks, windows, hood duct, sockets and open storage before ordering. A full-wall pattern can make a small kitchen feel busy; a focused area keeps the highlighter kitchen tile designs intentional.
| Option | Best placement | Effect and planning point |
|---|---|---|
| Full wall | Entire width and height | Strongest visual impact; use when the wall is broad and uncluttered |
| Niche | Recessed shelf or feature recess | Concentrates detail in a small area; align complete modules at the edges |
| Behind hob | Cooking zone or hood width | Highlights the focal point, reduces material and limits grease-exposed decorative surface |
| Horizontal band | A strip between countertop and cabinets | Suits long walls; keep its height consistent across cabinet breaks |
| Defined panel | Beneath wall cabinets or a hood | Frames the feature and prevents pattern from ending in random cuts |
Tile to the underside of cabinets for a defined splash zone. Tile behind open shelves when you want the pattern to continue around visible storage; tile to the ceiling when a tall composition should eliminate painted gaps, accepting extra labour and cleaning area.
Match directional patterns across panel edges, and avoid ending them in a narrow sliver beside a window, duct or cabinet.
Order about 10% overage for a simple layout. Allow about 15% or more for diagonals, mosaics, many outlets or directional designs, based on the elevation and cutting plan. A hob panel or band usually concentrates emphasis while reducing both material use and cleaning exposure.
Coordinate Pattern, Colour, and Scale with the Kitchen
A dramatic countertop edge, veined slab, open shelving, or ornate handles calls for a quieter highlighter; plain cabinets and a simple counter can support a stronger pattern. Match the field tile, cabinet finish, countertop, hardware, sink, and appliance finish before choosing highlighter kitchen tile designs.
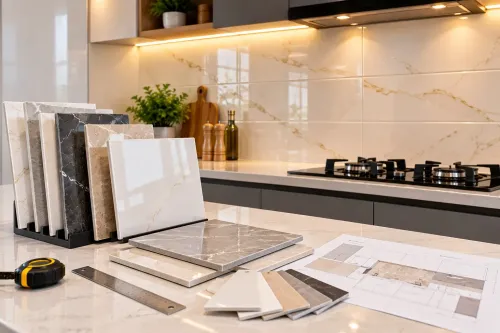
Build one sample board containing the field tile, highlighter, grout, countertop, cabinet finish, handle, sink, and appliance finish. Inspect multiple pieces from the intended batch: tile size, pattern scale, colour variation, sheen, grout contrast, and surface texture all change perceived backsplash density.
Contrasting grout outlines every module; close-colour grout makes decorative kitchen wall tiles read as one calmer surface.
- Contemporary: choose restrained geometry or a stone-look accent when cabinetry and hardware already provide visual structure.
- Traditional: use soft relief, a border, or a heritage pattern, then repeat one cabinet or metal tone.
- Minimalist: select one tonal feature rather than several competing colours.
- Industrial: pair concrete-, metal-, or brick-inspired surfaces with simple cabinetry and practical grout.
- Compact: use a smaller controlled panel, pale colours, and reflective finishes to prevent visual compression.
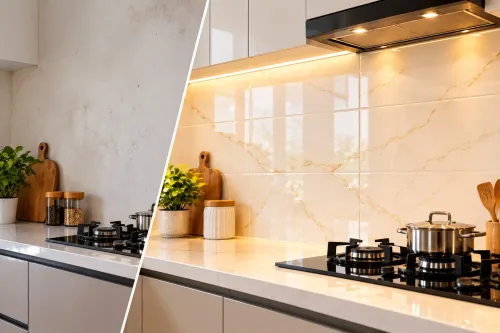
Check the board in daylight, warm LED light, and direct task lighting; warm LEDs can turn cream into yellow, while task lights expose gloss, relief, and uneven colour.
A useful kitchen tile selection guide also treats grease exposure as a styling decision: deep relief, crackle glaze, heavy handmade texture, and three-dimensional highlighter kitchen tile designs look denser and demand more grout-brush cleaning than flat glazed tile.
Plan Installation Around Cuts, Joints, and Wall Conditions
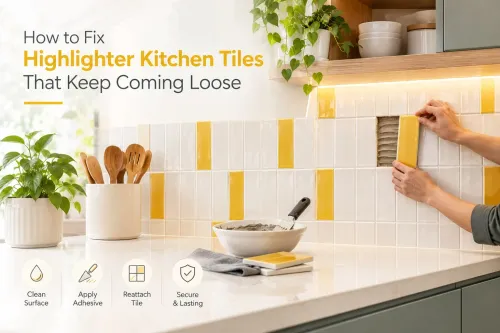
Check the wall before ordering: a flat, sound substrate prevents lippage, hollow spots, and drifting patterns. Remove dust, grease, loose paint, and weak plaster; repair hollows, prime as specified, and confirm tile thickness against adjacent surfaces, sockets, countertop, and cabinet edges.
Large-format pieces expose uneven walls more than small mosaics. Use the adhesive bed specified for the tile format, combed consistently and back-buttered where required; do not rely on spot-bonding. Plan movement accommodation at changes of plane, ends, and perimeters instead of trapping the tile against cabinets or counters.
Draw the elevation around every interruption before cutting:
- Centre modules around sockets, switches, windows, shelves, hood ducts, and cabinet breaks.
- Keep accent motifs away from unavoidable cuts and preserve appliance clearances.
- Finish exposed edges with trim, bullnose, polished cut edges, or a deliberate transition to the field tile.
- Check the countertop edge and cabinet line so the pattern does not finish in a thin sliver.
| Grout joint | Visual and practical result |
|---|---|
| Narrow | Cleaner, tighter pattern; demands accurate tile calibre and a flatter wall |
| Wider | More forgiving of minor variation; adds grout to clean and can enlarge the pattern visually |
| Contrasting colour | Outlines every module and makes the highlighter more prominent |
| Close-colour grout | Creates a quieter, more continuous surface |
Before installation, verify shade, calibre, lot number, quantity, and directional variation across multiple boxes. Retain spare tiles from that lot for repairs. In a kitchen tile selection guide for buyers sourcing kitchen backsplash tiles in pimpri chinchwad, Shreya Marble can provide matching samples and confirm same-lot stock before cutting begins.
Related product
 | Kitchen Tiles Elevate Your Kitchen with Statement Style Highlighter tiles are the ultimate secret weapon for creating an impactful, custom-designed kitchen... View product → |
Approve the Final Combination with a Cleaning and Maintenance Check
Approve a shortlisted tile only after a physical test—the final stage of how to choose highlighter tiles for kitchen backsplash. Inspect several pieces from the intended production batch, stand them vertically under the kitchen’s actual daylight, warm LEDs, and task lighting, then compare them with the countertop, cabinet handles, sink, appliances, and wall storage.
Use this final checklist for decorative kitchen wall tiles:
- Ask for wall-use, water-absorption, temperature, chemical-resistance, sealing, and cleaning data. A floor PEI number measures abrasion, not backsplash suitability.
- Confirm the tile, adhesive, grout, sealer, and cleaner are chemically compatible.
- Require written confirmation that crackle glaze can be sealed before grouting and is approved for grease exposure.
- Apply the recommended cleaner to a spare piece, add a simulated oil or food splash, leave it for the stated dwell time, then wipe and inspect for staining, dullness, or trapped residue.
Grout choice affects the result:
| Option | Advantage | Trade-off |
|---|---|---|
| Cement grout | Lower cost | More porous and colour-variable; needs careful cleaning and sealing where specified |
| Epoxy grout | Better stain resistance | Higher cost, shorter working window, and demanding cleanup before it cures |
Reject a design that fails the wipe test, lacks maintenance instructions, or makes grease removal impractical. Your kitchen tile selection guide should end with one rule: choose the strongest visual feature only when its surface, maintenance, layout, and installation details work together.
Frequently asked questions
Which tile surface suits each kitchen backsplash splash zone?
Use a glazed, non-absorbent face behind the hob and sink. Porous stone requires documented sealing and ongoing maintenance.
Where should highlighter tiles be placed before ordering?
Decide the highlighter’s position and coverage first, then calculate the tiles needed around edges, outlets, corners, and cuts.
How should highlighter tiles coordinate with the kitchen?
Compare the pattern, colour, and scale with the cabinets, worktop, floor, and surrounding wall tiles before committing.
What installation issues should you check?
Review cuts, grout joints, corners, outlets, and wall condition so the pattern remains balanced after installation.
How can you test whether the final tile combination is practical?
Check how each surface will handle grease, water, repeated cleaning, and maintenance before approving the decorative kitchen wall tiles.
Keywords