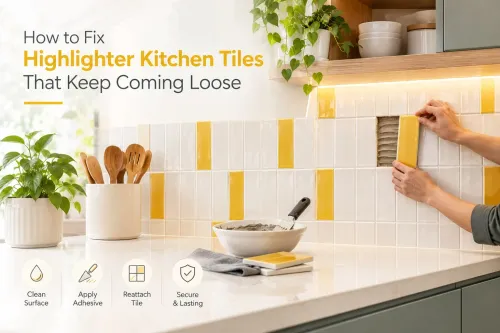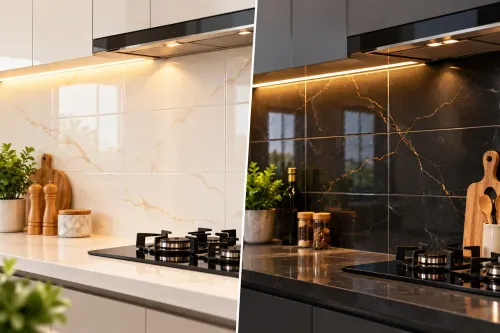
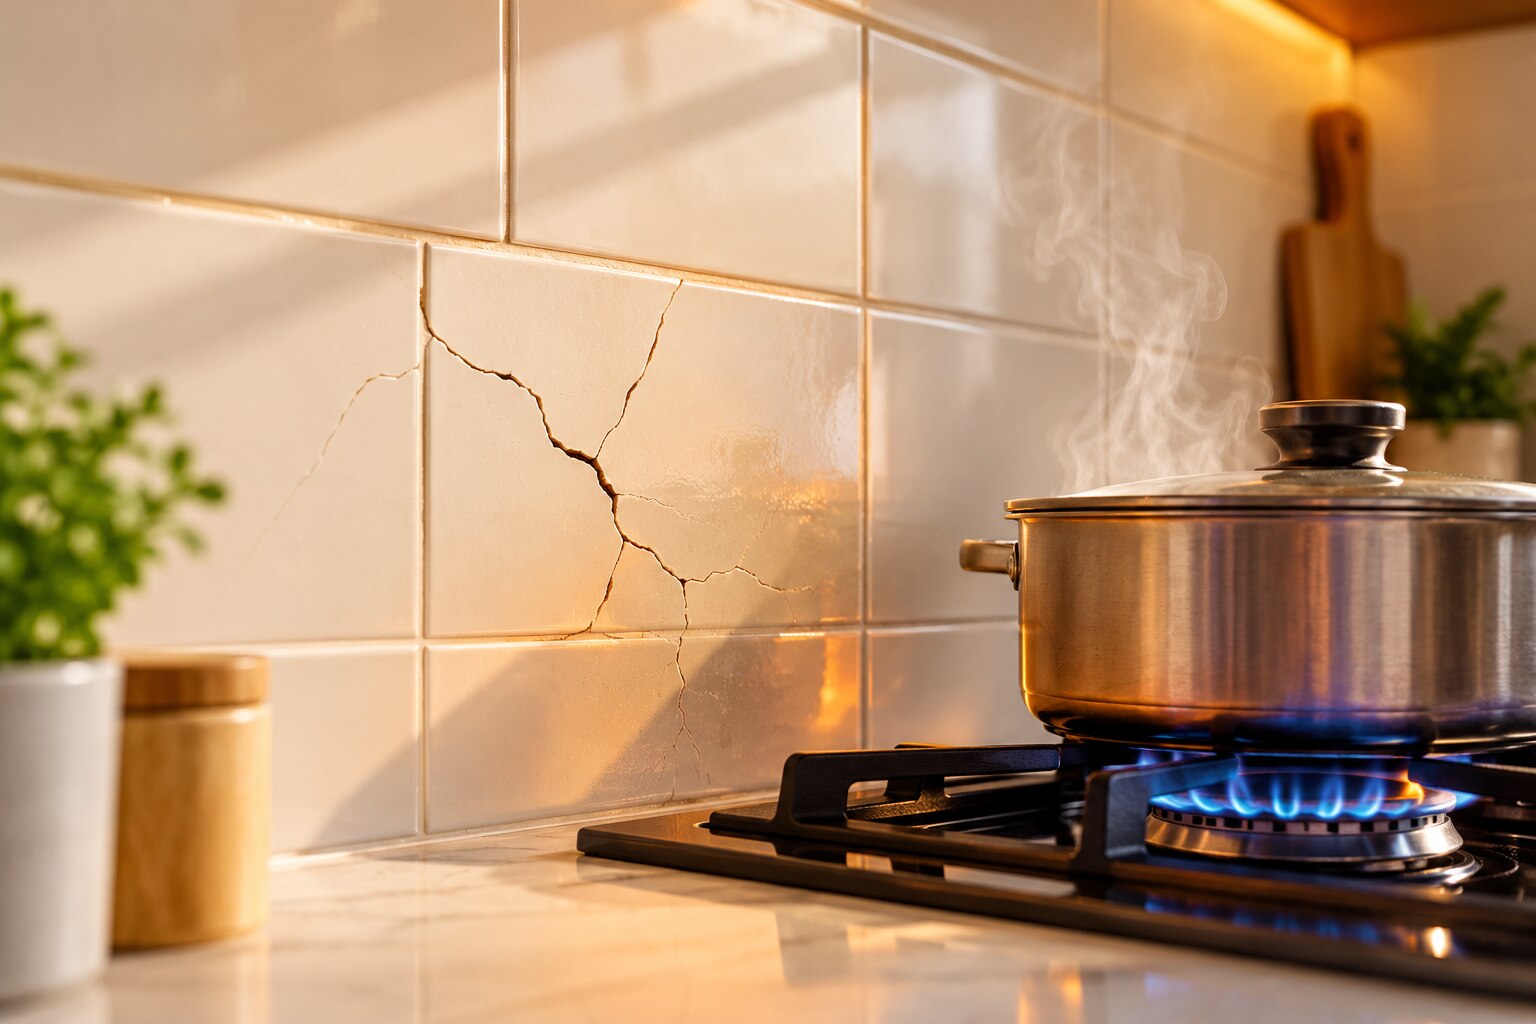
A cracked accent tile beside a gas burner or hob can result from concentrated heat, uneven support, wall movement, or a failure in the grout and adhesive system. You will be able to identify the likely cause, judge whether the tile is suitable for that position, and plan a repair that addresses the backing rather than hiding the visible crack.
Key takeaways
- Steep temperature differences create more stress than uniform tile heating.
- Cracks radiating from the burner point to concentrated heat stress.
- Avoid tiles with uneven support or heat-sensitive decorative finishes behind burners.
- Replace damaged tiles only after correcting support, movement, and heat exposure.
How Stove Heat Creates Stress in a Kitchen Wall Tile
A tile does not need to become uniformly hot to crack. The critical condition is a steep temperature difference: the area nearest the burner heats and expands while the edges remain cooler, rigidly bonded to the wall. Rapid heating followed by cooling creates repeated stress, especially where the tile has uneven support.
The most damaging heating patterns near a stove are:
- A gas flame or narrow hot-air plume striking one tile or its edge.
- A hot pan, utensil, or oil splatter touching the backsplash.
- Concentrated radiant heat reaching a tile beside the burner while surrounding tiles stay cool.
- Repeated cooking cycles that heat the same small area and then cool it quickly with air, wiping, or cleaning water.
- Steam or hot moisture entering an existing gap, weakened grout joint, or debonded area.
This is why kitchen tiles cracking near stove conditions often produce one corner crack, an edge-to-centre crack, or a break along a grout line rather than uniform ageing across the wall. A highlighter tile with raised relief, grooves, metallic decoration, glass content, or a different thickness also receives uneven support and develops sharper stress points.
Heat damage kitchen wall tiles can affect more than the visible face. Inspect the glaze, decorative print, grout, adhesive, and wall substrate for scorching, softening, hollow spots, or debonding. Direct heat is not proof of a product defect: fuel type, burner position, pan contact, adhesive coverage, and the tile manufacturer’s heat limits all matter.
What the Crack Pattern Reveals About the Failure
The crack’s path, depth, and surrounding damage usually identify the failure better than the tile’s position. A cracked highlighter kitchen tile with one local fracture points to a different problem than kitchen tiles cracking near stove along a joint or across several pieces.
- Heat shock: A sharp crack radiates from the hottest corner or centre, with scorch marks, glaze discolouration, or heat-damaged grout. Direct flame or a hot pan touching the wall strengthens this diagnosis.
- Poor adhesive coverage: A hollow sound, loose corners, or adhesive missing from the tile’s centre indicates unsupported areas. The tile back will show patchy transfer rather than near-continuous contact.
- Substrate movement: Cracks continue through neighbouring tiles or follow a plasterboard seam, masonry joint, or backing-board edge. The same line often reappears after replacement.
- Wall settlement: A stepped diagonal crack through tiles and the wall surface, especially near a corner or opening, indicates building movement rather than isolated stove heat.
- Grout failure: Grout splits or powders while tile faces remain intact. Gaps recurring along one joint point to movement or an incorrectly sized movement joint.
- Impact: A small crater, chipped glaze, or starburst centred on one strike point indicates a utensil or hard object, not uniform heating.
Remove one tile only after making the appliance safe. Inspect its back, adhesive condition, substrate flatness, and adjacent grout; tapping the face alone can miss a hollow backing. A replacement will fail again if the wall still flexes or scorched adhesive remains.
When a Highlighter Tile Is Unsuitable Behind the Burner
A decorative tile is unsuitable behind a burner when the manufacturer does not approve its temperature exposure, or when the stove directs flame, hot pans, oil, steam, or concentrated radiant heat onto its face. Repeated heating and cooling adds movement that a rigid, poorly supported tile cannot absorb.
| Check | Lower-risk condition | Warning sign |
|---|---|---|
| Tile body and thickness | Flat ceramic tile with consistent thickness and full backing | Thin, brittle, glass-rich, or uneven-bodied highlighter |
| Surface design | Stable glaze without metallic print or raised relief | Metallic decoration, grooves, or deep relief near the burner |
| Stove position | Adequate clearance from the flame and hot-pan zone | Flame plume or pan handle repeatedly touches the wall |
| Wall and installation | Rigid, flat substrate with cured adhesive and movement joints | Flexing wall, hollow spots, scorched adhesive, or tight grout |
| Exposure zone | Dry backsplash outside direct splash and heat | Area receiving steam, hot oil, or frequent washing |
Do not treat IS 15622 or ISO 13006 as permission for direct flame or a specific stove clearance. These standards classify properties such as dimensions, surface quality, and water absorption; they do not confirm service-temperature performance. Request the product datasheet and installation limits before choosing highlighter kitchen tiles for cracking near stove in Pimpri-Chinchwad.
A tile that passes those checks can still fail if the backing moves. Inspect every layer, because heat damage kitchen wall tiles can destroy grout, adhesive, or substrate while leaving the visible glaze intact.
Installation Details That Reduce Cracking Near the Stove
A flat, stable substrate and continuous adhesive support do more to prevent a new crack than a thicker decorative tile. Use sound masonry or a rigid cement backer board; repair plaster cracks, remove loose paint, and flatten hollows before tiling. Do not install over flexible plasterboard, damp backing, or scorched adhesive without correcting the cause.
| Practice | Correct installation | Failure it prevents |
|---|---|---|
| Substrate | Flatten the wall and preserve any structural or control joint | Stress transferred into the tile |
| Adhesive | Use a tile-and-substrate-compatible polymer-modified adhesive; key it into the wall and back-butter relief tiles | Rigid spot-bonding and hollow areas |
| Coverage | Meet the adhesive and tile manufacturer’s coverage requirement across the supported face | Breakage from unsupported edges |
| Tile joint | Keep the specified joint width; never butt tiles tightly together | Compression during heating and cooling |
| Grout | Pack the joint fully with suitable grout, but use flexible sealant at corners, changes of plane, and movement joints | Grout splitting and locked-in movement |
| Clearance | Keep tile, grout, and adhesive outside the appliance manufacturer’s clearance; prevent flame or hot-pan contact | Direct thermal shock and scorching |
For a project searching for highlighter kitchen tiles for cracking near stove in Pimpri Chinchwad, ask the installer or Shreya Marble to record the stove fuel, burner position, wall construction, tile and adhesive batches, joint width, and installation date.
Keep replacement tiles from the same batch where possible, and allow the adhesive and grout to cure for the stated time before heating or washing the backsplash.
How to Repair a Cracked Tile Without Repeating the Failure
A durable repair starts by correcting the cause, not by filling the crack with grout. Treat a cracked highlighter kitchen tile as a possible sharp-edge and hygiene hazard near food preparation, then inspect the backing before ordering a replacement.
1. Make the stove safe and photograph the crack, scorch marks, grout, loose edges, and nearby tiles. Record burner position, fuel type, wall construction, grout width, tile and adhesive batch, and installation date.
2. Remove the tile without chipping adjacent pieces. Check for hollow spots, blackened or softened adhesive, dampness, substrate cracks, wall flexing, and gaps behind the tile. Scrape away all debonded or heat-damaged adhesive, flatten the surface, and repair a cracked plasterboard, masonry, or plaster base before tiling.
3. Replace the tile with the specified adhesive, full support, matching joint width, and the original movement-joint treatment. Do not wash or heat the area until the adhesive and grout have reached their stated curing time.
4. Inspect adjacent tiles when decoration is blistered or discoloured, sealant is burnt, tiles are loose, or the crack returns. Replace matching pieces from the original batch where possible; relief, gloss, metallic print, shade, and joint colour can differ between batches.
Replace the layout or backing instead when cracks cross several tiles, follow a wall joint, recur after replacement, or coincide with settlement, moisture, or active movement. A cosmetic swap over hollow or moving backing will fail again.
Frequently asked questions
How does stove heat crack a kitchen wall tile?
The area nearest the burner heats and expands while cooler edges remain bonded to the wall. Rapid heating and cooling repeat this stress until the tile fails.
What does a crack pattern reveal about a failed highlighter tile?
Cracks concentrated near the burner suggest thermal stress, while cracks linked to unsupported areas point to uneven backing or movement.
When is a highlighter tile unsuitable behind a burner?
Choose another tile when the highlighter has heat-sensitive decoration, uneven support, or a finish not intended for repeated temperature changes.
How can you repair a cracked tile near the stove?
Remove the damaged tile, correct hollow or uneven backing, check the surrounding joints, and install a replacement with suitable adhesive and grout.
Keywords